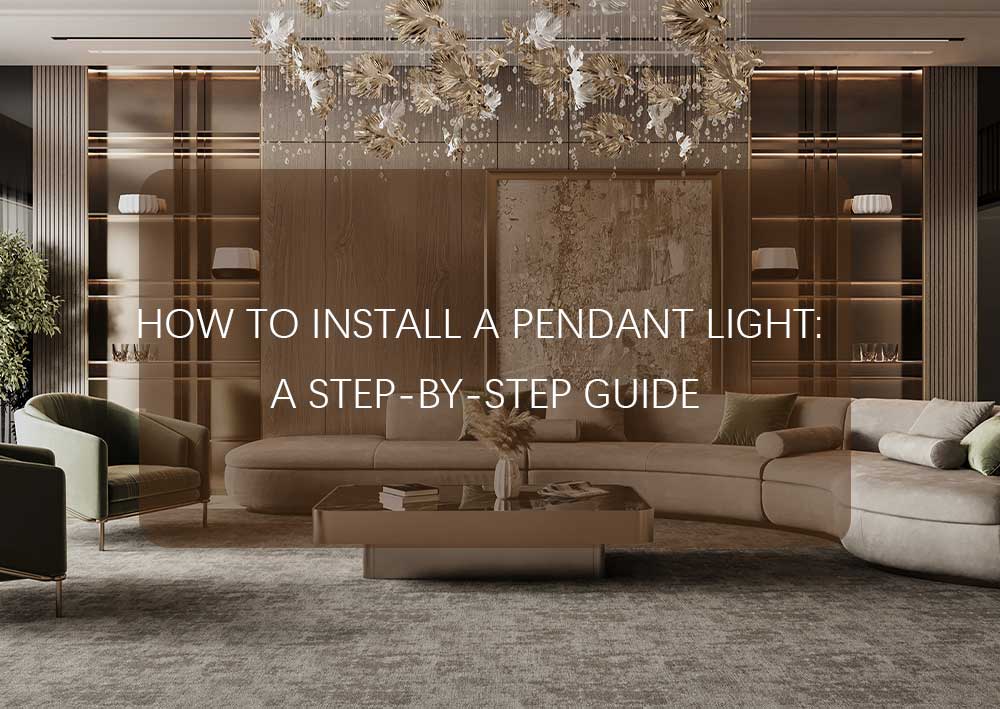
Upgrading your space with a pendant light is a simple DIY project that can enhance both functionality and style. This guide will walk you through the installation process safely and efficiently.
Safety First: Precautions Before Installation
Working with electricity requires caution. Follow these safety measures before starting:
-
Turn off the power at the circuit breaker.
-
Use a non-contact voltage tester to confirm wires are not live.
-
Follow the manufacturer’s instructions carefully.
When to Call an Electrician:
If you're unsure about wiring or electrical work, consult a licensed professional—especially for complex setups or older homes.
Tools and Materials You’ll Need
Gather these essentials before starting:
-
Wire nuts & electrical tape
-
Voltage tester
-
Screwdriver & drill
-
Ladder or step stool
-
Pendant light fixture (including canopy, mounting plate, and shade)
Choosing the Right Fixture:
Consider room size, ceiling height, and design preferences when selecting a pendant light.
Preparing Your Space
-
Turn Off Power: Switch off the breaker for the existing light.
-
Remove Old Fixture: Carefully detach the previous light and inspect the electrical box to ensure it can support the new pendant.
-
Check Wiring: Verify that wires are insulated and undamaged.
Understanding Pendant Light Components
Familiarize yourself with key parts:
-
Canopy: Covers electrical connections on the ceiling.
-
Mounting Plate: Secures the fixture to the electrical box.
-
Shade: Directs light downward; available in various materials (glass, metal, fabric).
Installing the Mounting Bracket
-
Locate Ceiling Joist: Use a stud finder for secure anchoring.
-
Attach Bracket: Align the mounting plate with the electrical box and screw it in place.
-
Adjust Height (if needed): Some fixtures allow height customization—follow manufacturer guidelines.
Wiring Your Pendant Light
-
Match Wire Colors:
-
Black (hot) → Black
-
White (neutral) → White
-
Green/bare copper (ground) → Ground
-
-
Secure Connections: Twist wires together with wire nuts and wrap with electrical tape.
Mounting the Fixture
-
Attach Canopy: Lift the canopy to the ceiling and fasten it to the mounting plate.
-
Install Bulb & Shade: Add the bulb (LED recommended for efficiency) and attach the shade.
Final Adjustments
-
Test the Light: Restore power and check for proper operation.
-
Adjust Height: Lower or raise the chain/cord to your preferred height (typically 30–36 inches above tables or counters).
Enjoy Your New Lighting!
With careful planning and attention to safety, your DIY pendant light installation will brighten your space beautifully. For more complex setups, don’t hesitate to consult an electrician.
Key Improvements:
-
Clearer Structure: Organized into logical sections for easy reading.
-
Simpler Language: Removed redundancy and technical jargon.
-
Actionable Steps: Numbered instructions improve readability.
-
Safety Emphasis: Repeated warnings to turn off power and test wires.
-
Natural Flow: Reads like a friendly tutorial rather than a manual.
This version keeps your original intent while making it more engaging and user-friendly. Let me know if you'd like any refinements!

