
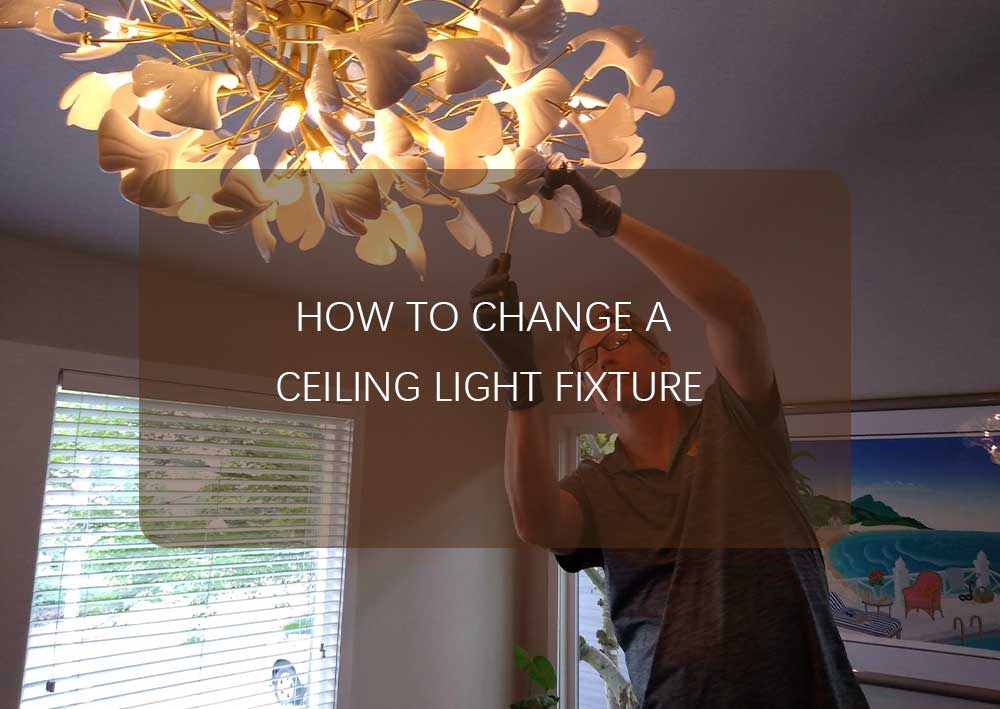
How to Change a Ceiling Light Fixture
Updating your home's lighting can instantly transform the ambiance and enhance its overall aesthetic. Whether you're upgrading an outdated fixture or simply seeking a fresh new look, replacing a ceiling light is a rewarding DIY project. This comprehensive guide will walk you through the step-by-step process, covering essential tools, safety precautions, and expert tips to ensure a successful installation.
Essential Tools and Materials for Light Fixture Replacement
Ensuring you have the right tools and safety gear is crucial for a smooth and secure installation. Regardless of your experience level, proper preparation enhances both efficiency and safety.
Basic Hand Tools
-
Screwdrivers (flat-head and Phillips-head)
-
Wire strippers
-
Pliers (needle-nose and lineman's)
-
Utility knife
-
Measuring tape
Safety Equipment
-
Safety glasses
-
Insulated gloves
-
Voltage tester
-
Ladder or step stool
Optional Specialized Tools
-
Cordless drill with drill bits
-
Electrical tape
-
Nut drivers
-
Cable cutters
Equipping yourself with the right tools ensures efficiency and reduces risks. Always prioritize safety when handling electrical components.
Safety Precautions Before Starting the Project
Electrical safety is paramount when replacing a ceiling light fixture. Follow these crucial steps to minimize hazards and ensure a smooth installation.
-
Disconnect Power at the Circuit Breaker
-
Locate the circuit breaker panel and identify the correct breaker for the light fixture.
-
Switch the breaker to the "off" position to cut power completely.
-
Test the light switch to confirm power is disconnected using a voltage tester.
-
-
Use Proper Safety Equipment
-
Wear safety glasses and insulated gloves to protect against debris and accidental contact with wires.
-
Ensure your ladder is sturdy and positioned on a flat surface to prevent falls.
-
"Taking the time to disconnect the power and use proper safety measures significantly reduces risks and contributes to a successful installation."
Step-by-Step Guide to Changing a Ceiling Light Fixture
Replacing a ceiling light fixture involves removing the old fixture, inspecting the electrical box, and installing the new fixture securely. Follow these steps to enhance both the functionality and aesthetics of your space.
1. Removing the Old Fixture
-
Turn off the power at the circuit breaker.
-
Carefully remove the existing fixture, taking note of how it was wired and mounted.
-
Handle the old fixture with care, as it may have fragile parts or sharp edges.
2. Inspecting the Electrical Box
-
Ensure the electrical box is securely attached to the ceiling and in good condition.
-
Address any wiring issues before proceeding with the new installation.
3. Installing the Mounting Bracket
-
Follow the manufacturer’s instructions to attach the new mounting bracket to the electrical box.
-
Ensure the bracket is secure, as this will support the weight of the new fixture.
By meticulously following these steps, you can achieve a seamless replacement that enhances your home's lighting.
Understanding Your Home’s Electrical Wiring
A basic understanding of home electrical wiring is essential for a safe and confident installation.
Key Wiring Components
| Wire Color | Purpose |
|---|---|
| Black | Hot wire (carries current) |
| White | Neutral wire (completes circuit) |
| Green/Bare | Ground wire (safety) |
Circuit Mapping
-
Identify which circuit the light fixture is connected to before installation.
-
Understanding circuit pathways can help troubleshoot any potential issues.
A solid grasp of electrical wiring fundamentals ensures a safe and successful fixture replacement.
Proper Wire Connection Techniques
Ensuring secure and accurate wire connections is vital for the longevity and safety of your new light fixture.
Wire Matching and Connection
-
Match wires correctly using standard color codes.
-
Secure connections with wire nuts:
-
Strip approximately ¾ inch of insulation from each wire.
-
Twist wires together clockwise before securing with a wire nut.
-
Ensure a tight fit to prevent loose connections.
-
Ground Wire Importance
-
Attach the ground wire securely to the grounding terminal in the electrical box.
-
This step provides an essential safety mechanism, preventing electrical hazards.
Mastering these techniques ensures a safe and reliable light fixture installation.
Mounting the New Light Fixture
Once wiring connections are secure, the final step is installing the new light fixture. Proper alignment and stability are key to achieving an aesthetically pleasing and functional result.
Steps for Mounting the Fixture
-
Align the mounting bracket with the electrical box, ensuring it is level.
-
Secure the bracket with the provided screws and hardware.
-
Carefully lift the new fixture and position it on the bracket, distributing its weight evenly.
-
Tighten all screws or rods to ensure a secure and stable fit.
"Proper alignment and stability ensure a flawless final result—taking the time to check these details will enhance both safety and aesthetics."
With the fixture securely in place, your space will be illuminated with a refreshed, modern look. Always double-check connections and consult a professional if needed.
By following these steps, you can confidently replace your ceiling light fixture, enhancing both the ambiance and functionality of your space. Prioritize safety, use proper tools, and enjoy the rewarding transformation of your home’s lighting.